
Are you looking for a delicious way to boost your health and immune system? A tasty snack for all ages (over 1 year old)? Look no further than this ultimate elderberry gummies recipe! Packed with the powerful benefits of elderberries, these homemade gummies are tasty and provide a natural way to support your overall wellness. In this article, we will explore the benefits of elderberries, provide you with a list of ingredients you’ll need, walk you through the step-by-step instructions, offer tips for making the perfect gummies, discuss storage and consumption recommendations, and share additional health tips to help you on your wellness journey.
*This site may contain links to affiliate websites. As an Amazon Associate, we earn from qualifying purchases. However, this does not impact our reviews and comparisons. We try our best to keep things fair and balanced, at no extra cost to you, in order to help you make the best choice. Thank you for supporting us so we can continue doing what we love!
Benefits of Elderberry Gummies
Elderberries are known for their high levels of antioxidants, vitamins, and minerals that can help boost your immune system and overall health. These small but mighty berries contain powerful compounds that have been shown to support heart health, reduce inflammation, and even improve cold and flu symptoms. With their natural antiviral and antibacterial properties, elderberries are a popular choice for those looking for a natural way to stay healthy. Now, let’s talk about the ingredients you will need!
Whenever we see an “essential” nutrient, we must consume a food that contains those nutrients because the body does not produce it on its own. Grass-fed Gelatin is a great source of essential amino acids (proteins) the body needs daily!
Grass-fed gelatin is not just any protein source. It’s a nutritional powerhouse packed with collagen, protein, and essential amino acids. These elements support various aspects of our health, including gut health, immune system, energy levels, bone and joint health, and even our hair, skin, and nails!
Did you know the amino acid Glycine is essential for pregnant women because it helps with the baby’s DNA formation, connective tissue, blood vessels, bones, internal organs, joints, and skin? Grass-fed gelatin is a great way to get Glycine and other essential amino acids (proteins) into your diet during pregnancy and postpartum.
Essential amino acids in grass-fed gelatin include:
- Alanine
- Arginine
- Aspartic acid
- Cysteine
- Glutamic Acid
- Glycine
- Histidine
- Hydroxylysine
- Isoleucine
- Leucine
- Lysine
- Methionine
- Phenylalanine
- Proline
- Serine
- Threonine
- Tryptophan
- Tyrosine
- Valine
- Hydroxyproline
Ingredients You Will Need
Elderberry gummies are a delicious and convenient way to enjoy the health benefits of elderberries. To create your own batch of elderberry gummies, you will need a few key ingredients that are easy to find at your local grocery store or online. Gather your dried or fresh elderberries (We love Mountain Rose Herbs), water, grass-fed gelatin, raw honey, cinnamon sticks, and fresh or dried ginger to start making these immune-boosting treats.
The best price for grass-fed gelatin is from Thrive Market (which has many other great discounted products!), but you can also get it on Amazon (I recommend the Great Lakes brand).
Check out my Instant Pot Elderberry Recipe for how to make Elderberry syrup in 10 minutes!
*Please note: Elderberry syrup contains honey that is unsafe for children under one-year-old. You can omit or substitute honey for juice or other safe sweeteners for this recipe.
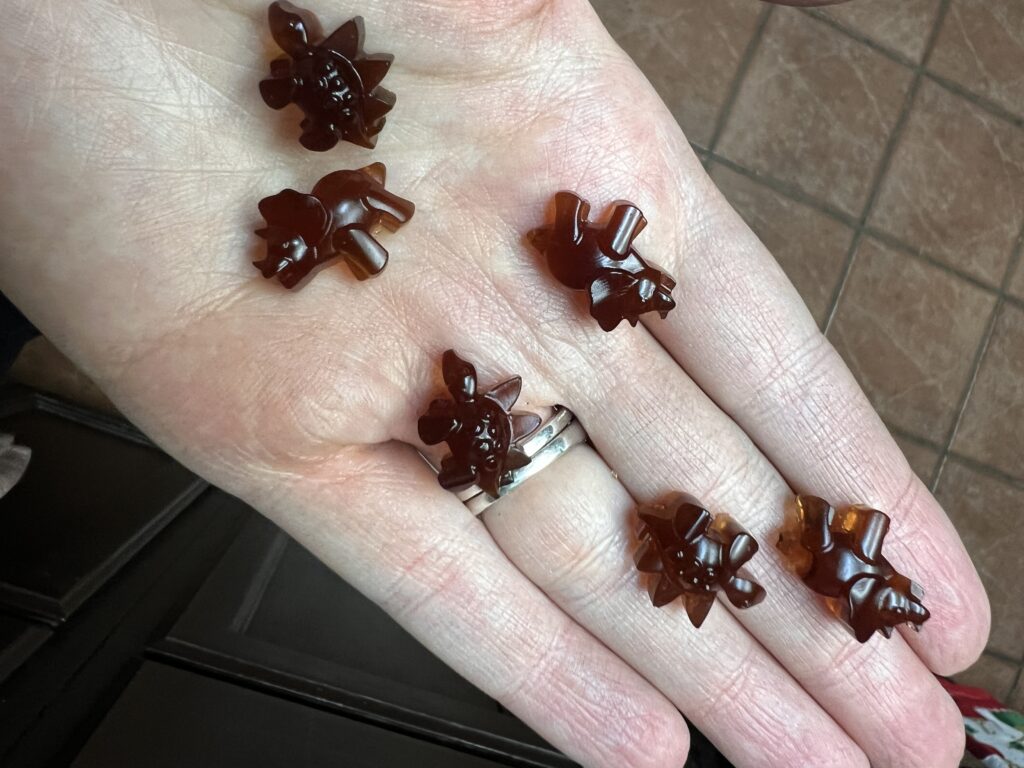
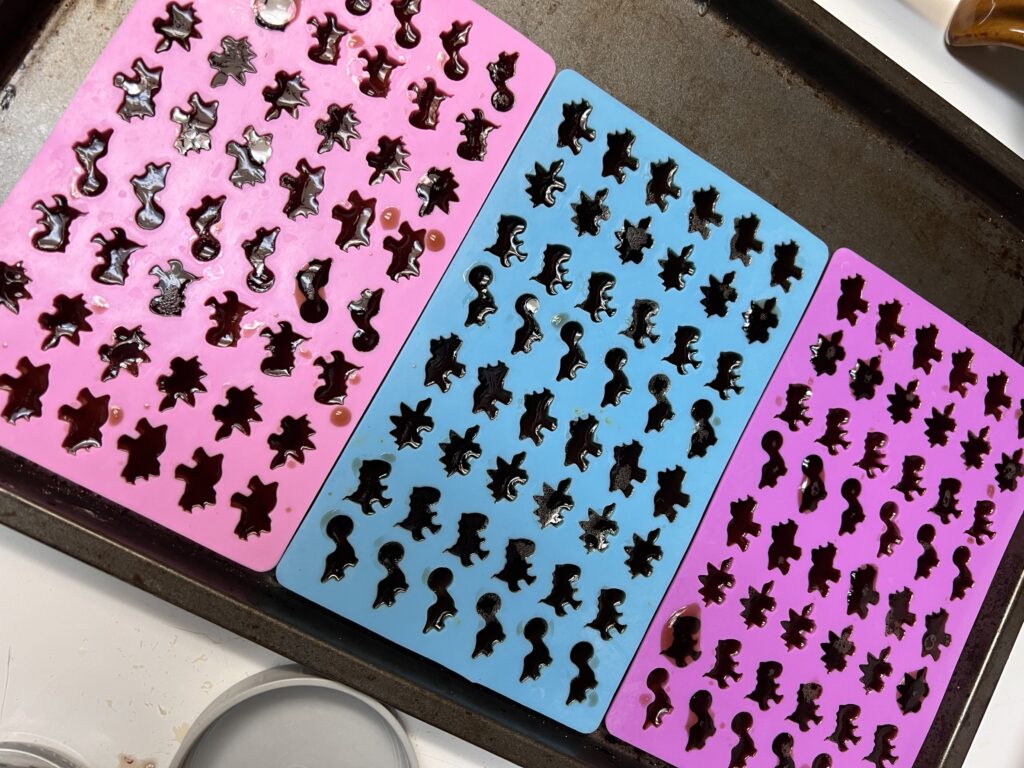
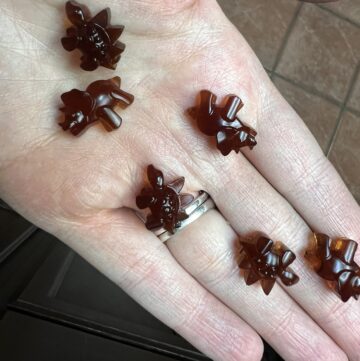
I use fun silicone molds to shape the gummies, but you can also pour them into a small glass baking dish and cut them into squares.
Tips for Making the Perfect Gummies
To ensure your elderberry gummies turn out perfectly every time, consider a few key tips. First, make sure to use high-quality ingredients, such as organic elderberry syrup and grass-fed gelatin, for the best flavor and health benefits. Additionally, be mindful of the temperature when heating the elderberry mixture to prevent it from boiling over or scorching. Stirring consistently and gently will help create a smooth and uniform mixture for your gummies. Finally, experiment with different shapes and sizes of gummy molds to find the perfect bite-sized treat for you.
Storage and Consumption
Once your elderberry gummies are ready, it’s important to store them properly to maintain their freshness and potency. Store your gummies in an airtight glass container in the refrigerator to prevent them from melting or becoming sticky. Make sure to label the container with the date of preparation to keep track of its shelf life. They usually last in the refrigerator for up to 10 days. They typically don’t last that long in a house with kids!
Conclusion
I hope you and your family enjoy this delicious recipe for elderberry gummies! Incorporating elderberry gummies into your daily routine can be a game-changer for your health and wellness. From boosting your immune system to providing a delicious treat, these gummies offer a multitude of benefits. By following our simple recipe and tips, you can easily create your own batch at home. So why wait? Take charge of your well-being today with these ultimate elderberry gummies. As the saying goes, “Let food be thy medicine and medicine be thy food.” Start on your path to a healthier you now.
Leave a comment below if you loved this recipe!
Other recipes you may like:
ONE POT GARLIC AND HERB CHICKEN THIGHS IN RICE
NEW YEAR’S WINTER DETOX & LIVER CLEANSE SOUP RECIPE
Elderberry Gummy Recipe
Ingredients
- 1 Cup Elderberry Syrup (See recipe link in notes below)
- 2 Tbsp Grass-fed Gelatin
Instructions
- Pour the other 1 cup of elderberry syrup in a small sauce pan and sprinkle 2 Tbsp of grass-fed gelatin on top of liquid. Let gelatin bloom (absorb and expand) for 3-5 minutes.
- Turn on burner to a medium-low heat (do not boil!). Liquid just needs to be warm for the gelatin to melt.
- Slowly wisk elderberry syrup and gelatin mixture in the saucepan until fully combined. Keep the heat low as the gelatin will begin to melt and dissolve into the elderberry syrup.
- Once everything has dissolved into a liquid, strain out any clumps of gelatin that may have formed.
- Now it is time to divide the liquid into molds or a 9×9 baking dish.
- Place molds/ dish in the fridge for 30 minutes and then enjoy!